
Are you tired of the same old nail designs? Looking for something fresh, trendy, and oh-so-chic? You’ve come to the right place! The milky nail look has taken Pinterest by storm, and it’s not hard to see why. This soft, sophisticated style offers a perfect blend of elegance and modern flair. In this article, we’ll explore everything you need to know about the milky nail trend, from its origins to how you can achieve this stunning look at home.
Whether you’re preparing for a special occasion or just want to elevate your everyday style, milky nails provide a versatile option that complements any outfit. This look allows your creativity to shine while remaining effortlessly chic. With just a few simple techniques and colors, you’ll be on your way to flaunting the milky nails everyone is raving about.
Understanding the Milky Nail Aesthetic
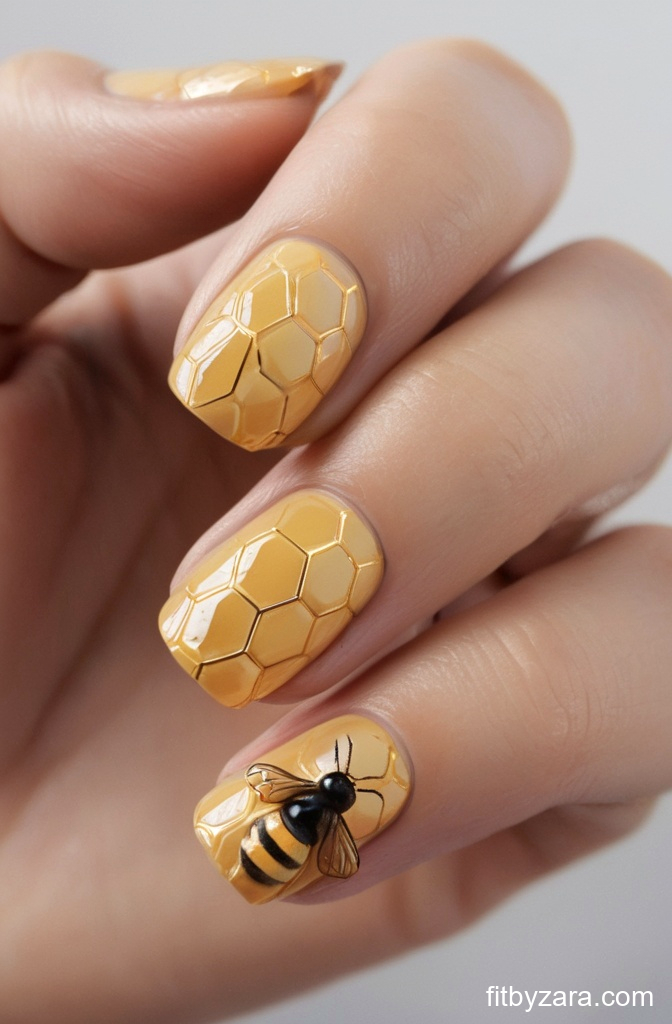
The milky nail trend is all about a subtle, creamy finish that captures the essence of a soft, frosted glass. It’s not merely about the color; it’s about the overall aesthetic that brings a sense of calm and sophistication. The trend has evolved from the classic French manicure, diving into a world of translucent whites and soft pastels.
Origins of the Milky Nail Trend
This trend seems to have originated from the love of minimalist nail art, which emphasizes simple yet impactful designs. The milky nail look first gained traction on social media platforms like Instagram and Pinterest, where users began showcasing their take on the style. As more influencers embraced this delicate look, it quickly became a staple in nail salons and DIY nail enthusiasts alike.
Why You’ll Love the Milky Nail Look
-
Versatile: The milky nail design can be adapted to suit any occasion, whether it’s a casual day out or a formal event.
-
Low Maintenance: Unlike intricate nail art, milky nails are relatively easy to maintain, making them perfect for those who lead busy lives.
Your Nails Aren’t Weak — They’re Undernourished
Peeling, bending, and slow growth usually start internally.
Helps reduce peeling and breakage. PrimeBiome helps restore balance so nutrients actually reach your nails.
-
Flattering on All Skin Tones: The soft hues of milky nails are universally flattering, enhancing the natural beauty of your hands.
-
Creative Freedom: From minimalistic styles to added embellishments, the milky nail look allows room for your personal touch.
How to Achieve the Perfect Milky Nails at Home
Ready to give the milky nail look a try? Here’s a step-by-step guide to creating this beautiful design at home. Gather your tools and let’s get started!
Step 1: Gather Your Supplies
To achieve the milky nail look, you’ll need a few essential supplies:
-
Nail file and buffer
-
Base coat
-
Milky white or soft pastel nail polish
-
Top coat
-
Nail art tools (optional)
Step 2: Prepare Your Nails
Begin by preparing your nails for the polish. Start by filing and shaping them to your desired length and shape. Buff the surface of your nails lightly to create a smooth foundation for the polish. Clean your nails with nail polish remover to ensure they are free of oils and residues.
Step 3: Apply a Base Coat
Applying a base coat is essential for protecting your nails and ensuring your polish adheres properly. Choose a clear base coat and apply a thin, even layer over each nail. Allow it to dry completely before moving on to the next step.
Step 4: Choose Your Color
For the milky nail look, you can opt for a classic milky white or experiment with soft pastels like light pink, lavender, or mint green. Apply the chosen color in thin layers, allowing each coat to dry completely before adding another. Aim for two to three coats, depending on the desired opacity.
Step 5: Add Your Final Touch
Once you’ve achieved your preferred shade, it’s time for the finishing touches! Apply a top coat to add shine and protect your beautiful new design. If you’d like to get creative, you can add delicate nail art elements, such as tiny dots or lines using a contrasting color.
Step 6: Let Your Nails Dry
Patience is key! Ensure your nails are fully dry to prevent smudging. Take your time, and enjoy your moment of self-care as you admire your gorgeous milky nails.
Styling Your Milky Nails
The milky nail design is incredibly versatile and can be styled in numerous ways. Here are some ideas to inspire you:
-
Add a Glossy Top Coat for Extra Shine: A high-gloss top coat can make your milky nails look even more stunning, reflecting light beautifully.
-
Incorporate Nail Art: Use thin brushes or dotting tools to create simple designs, like stripes or polka dots, to elevate your milky look.
-
Mix and Match Colors: Try pairing milky nails with a bold accent nail in a contrasting color for a fun pop!
-
Experiment with Textures: Consider using matte top coats or textured polishes for a unique twist on the classic milky look.
Caring for Your Milky Nails
Once you’ve rocked your milky nails, it’s important to take care of them to ensure they stay looking fabulous. Here are some tips:
-
Moisturize: Keep your hands and cuticles hydrated with cuticle oil or hand cream to maintain healthy nails.
-
Avoid Harsh Chemicals: Use gentle soaps and avoid prolonged exposure to water to preserve your nails’ integrity.
-
Schedule Regular Maintenance: Keep your nails in shape by trimming and filing them regularly.
Stronger nails start from the inside
Addresses the internal cause of weak nails. PrimeBiome supports nutrient absorption so your nails actually get what they need.
-
Touch Up as Needed: If your nails chip, don’t hesitate to do a quick touch-up to keep them looking pristine.
Conclusion
The milky nail look is a wonderful way to express your style without going overboard. It’s elegant, easy to achieve, and fits seamlessly into any wardrobe. With its captivating simplicity, the milky nail trend is sure to remain a favorite for years to come. Don’t be afraid to experiment with different colors and techniques to make this look your own. Now that you know how to create milky nails, grab your supplies and get started on your next nail adventure!