
In recent years, the world of nail art has witnessed an explosion of creative expression. One trend that has captured the attention of beauty enthusiasts everywhere is the glazed nail look. This shimmering style, often shared across social media platforms, particularly Pinterest, combines elegance with an ethereal sheen that elevates any manicure to new heights. But what exactly makes this look so appealing, and how can you achieve it at home?
From celebrities to influencers, the glazed nail trend has become an iconic statement of modern nail artistry, characterized by its glossy, glass-like finish. This polished aesthetic can be effortlessly tailored to fit any occasion, whether you prefer a subtle everyday elegance or a bold statement for a special event. In this article, we will delve into the essence of the glazed nail look, its vibrant interpretations, and practical tips to help you master this stunning style.
The Allure of the Glazed Nail Look
The glazed nail look is steeped in a sense of allure that resonates with both minimalists and maximalists alike. Its base is often a neutral or pastel hue, topped with a shimmering glaze that creates the illusion of depth and dimension. The result? A manicure that catches the light beautifully and adds a touch of sophistication to your everyday ensemble.
What sets the glazed nail look apart is its versatility. This style can be effortlessly transformed to suit nearly any aesthetic. Whether you’re attending a high-profile gala or enjoying a casual day out with friends, glazed nails offer a refined yet playful touch that elevates your overall appearance. The secret lies in understanding how to layer colors and glazes, and how to choose shades that complement your skin tone and personal style.
Crafting the Perfect Glazed Nails
To achieve the perfect glazed nail look, it’s important to begin with a solid foundation. Here are some essential steps to guide you through the process:
-
Step 1: Prepare Your Nails
Start with clean, trimmed nails. Gently push back your cuticles and shape your nails to your desired length. A smooth, well-maintained canvas is key to a flawless finish.
Your Nails Aren’t Weak — They’re Undernourished
Peeling, bending, and slow growth usually start internally.
Supports nail growth and length over time. PrimeBiome helps restore balance so nutrients actually reach your nails.
-
Step 2: Apply a Base Coat
Using a high-quality base coat will not only protect your natural nails but also extend the life of your manicure. Choose a clear or tinted base coat that resonates with your chosen color palette.
-
Step 3: Choose Your Color
Select a nail polish shade that serves as the foundation for your glazed look. Soft pastels, delicate neutrals, or even vibrant tones can all be stunning. Apply two coats for maximum opacity, allowing each layer to dry thoroughly.
-
Step 4: Add the Glaze
The essence of the glazed nail look lies in its glossy finish. Opt for a topcoat that has a reflective, glass-like quality. Some brands offer specific “glaze” products designed to enhance shine. Apply this generously over your color, being careful to avoid pooling at the cuticles.
-
Step 5: Finishing Touches
Once the glaze has dried, consider adding a few extra touches. A touch of fine glitter or a delicate nail art design can elevate the look even further. If desired, finish with a quick-drying topcoat to ensure longevity and shine.
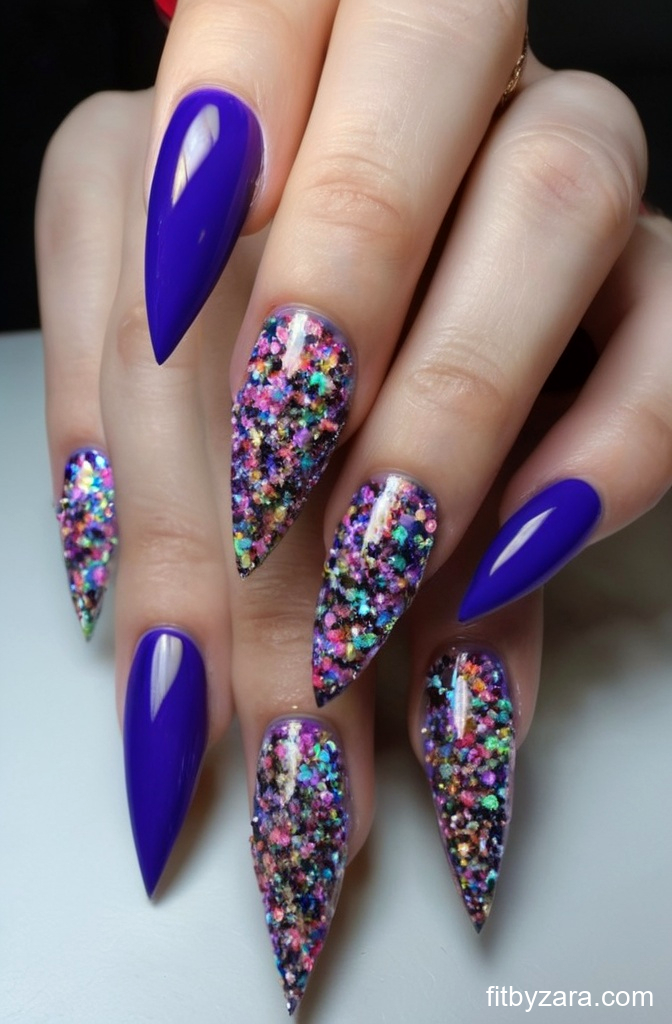
Color Inspirations for Glazed Nails
When it comes to selecting the perfect color for your glazed nails, there are countless options that can suit any personality or occasion. Here are some color inspirations to ignite your creativity:
- Soft Lavender: This dreamy shade is perfect for a feminine touch, offering tranquility and charm.
- Pale Peach: A warm, inviting hue that radiates golden undertones for a sunny disposition.
- Blush Pink: A classic choice that never goes out of style, blush pink exudes elegance and simplicity.
- Mint Green: Refreshing and youthful, mint green brings a playful vibe that’s perfect for spring and summer.
- Classic White: For those drawn to timeless styles, a white base topped with glaze evokes sophistication and purity.
Glazed Nail Techniques to Try
Once you’ve perfected the basic glazed nail look, consider experimenting with different techniques to create unique variations. Here are some creative ideas to inspire your next manicure:
-
Ombre Glaze
An ombre effect can add depth to your glazed nails. Start with a darker shade at the base of the nail and fade to a lighter tone at the tips, finishing with a glossy topcoat for a seamless transition.
-
Negative Space
Negative space designs incorporate unpainted areas for a modern twist. Experiment with geometric shapes or stripes to add an artistic touch while maintaining the glazed sheen.
-
Marble Effect
Create a marbled look by swirling two or more colors together before adding your glaze. This technique adds a touch of luxury and visual intrigue to your nails.
-
Accent Nails
Choose one or two accent nails to feature a bolder color or design, allowing the glazed effect to shine on the remaining nails. This approach adds interest without overwhelming your overall look.
The Trending Glazed Nail Styles
With the growing popularity of glazed nails, various styles have emerged to capture the hearts of nail enthusiasts. Here’s a selection of trending glazed styles that highlight this versatile look:
-
Metallic Glaze
Incorporating metallic tones into the glazed look can create a stunning visual impact. Colors like gold, silver, or copper can amplify the shine and add a glamorous edge to your manicure.
-
Floral Glaze
For a romantic touch, opt for delicate floral designs under a glossy glaze. Dried flowers or hand-painted florals can be encapsulated under the glaze, giving a beautiful layered effect.
-
Frosted Finish
A frosted glaze creates a unique finish that softens the overall look. This style is particularly lovely in winter, evoking the beauty of icy landscapes.
Choosing the Right Products
To achieve the best results for your glazed nails, selecting the right products is crucial. Consider these recommendations to elevate your nail game:
-
Base and Top Coats
Invest in high-quality base and top coats that offer long-lasting wear and protection. Brands like OPI, Essie, and Orly deliver exceptional results and are widely trusted in the beauty industry.
-
Glaze-Specific Polishes
Seek out polishes specifically designed for a glazed finish. These products often contain reflective particles that enhance shine and depth.
-
Nail Art Tools
If you’re embracing intricate designs, consider purchasing a set of nail art brushes or dotting tools. These can help create detailed patterns that stand out under a glossy glaze.
Maintaining Your Glazed Nails
Maintaining the beauty of your glazed nails requires a little extra care. Here are some tips to keep your nails looking fresh and fabulous:
Stronger nails start from the inside
Helps reduce peeling and breakage. PrimeBiome supports nutrient absorption so your nails actually get what they need.
- Apply cuticle oil regularly to keep your cuticles hydrated and healthy.
- Use gloves when doing household chores to protect your manicure from wear and tear.
- Reapply topcoat every few days to maintain shine and prolong the life of your manicure.
Conclusion
The glazed nail look is more than just a trend; it’s a celebration of elegance and creativity in the world of nail art. With its glossy finish and limitless customization options, this style invites everyone to express their individuality. Whether you’re a DIY enthusiast or prefer to visit a professional nail salon, the glazed nail look offers an opportunity to explore your aesthetic and showcase your personality.
So, gather your favorite polishes, get inspired, and dive into the art of glazed nails. Remember, the beauty of this look lies in its simplicity and sophistication, making it accessible to anyone willing to experiment with color, texture, and shine.