
Have you ever scrolled through Instagram, marveling at those perfectly polished soft glam nails, only to find that your own attempts fall flat? You’re not alone! Many nail enthusiasts have experienced this frustrating phenomenon. You might follow the tutorials to the letter, grab all the right tools, and still end up with nails that don’t quite reflect the sleek, chic results you envisioned.
In this article, we’ll explore the common reasons why your soft glam nails might not be living up to the hype. From the right products to the techniques you use, we’ll delve into everything that could be causing the disconnect between the luxurious nails you dream of and the reality you’re facing. Let’s unlock the secrets of soft glam nails together!
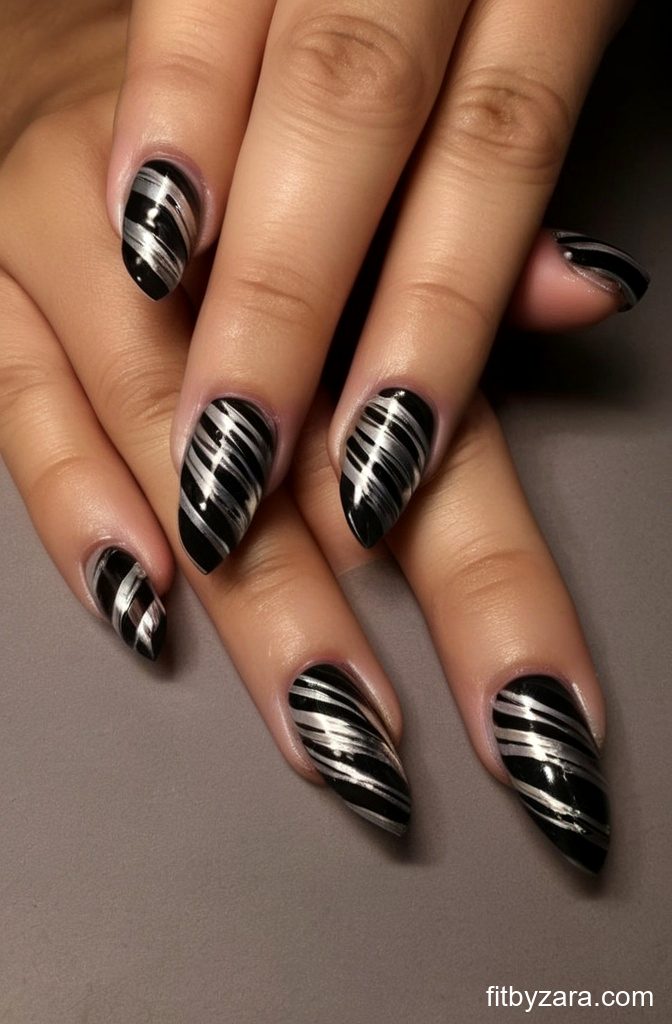
Understanding Soft Glam Nails
Before we dive into why your nails may not match the photos, let’s clarify what we mean by “soft glam nails.” The term refers to nails that embody understated elegance, often featuring soft colors, delicate designs, and a sophisticated finish. Think muted pastels, subtle glitter, and an overall polished look. It’s a combination of finesse and simplicity that can be deceptively challenging to achieve.
1. Choosing the Right Colors
One of the first steps in achieving soft glam nails is selecting the right colors. The colors you choose can dramatically affect the outcome, so keep the following in mind:
- Skin Tone: Consider your skin tone when picking shades. Cool undertones often look great with blues and purples, while warmer tones complement peachy and coral hues.
- Opacity: Soft glam nails typically favor sheer or semi-sheer finishes. If your polish is too opaque, it may not achieve the desired effect.
- Finish: Matte finishes can lend a sophisticated touch, but glossy nails can offer the right amount of shine to make those soft colors pop.
2. The Importance of Application Technique
The technique you use for application can make a world of difference in how your nails turn out. Here are some tips to perfect your application:
- Base Coat: Never skip this step! A high-quality base coat not only helps with adhesion but also smooths the nail surface.
- Thin Coats: Instead of loading your brush with polish, apply thin layers. This ensures a smoother finish and reduces the risk of bubbles.
- Angle Your Brush: Use an angled brush technique to get into the corners of your nails without flooding the cuticle area.
3. Top Coat: The Finishing Touch
A top coat can make or break your soft glam look. It adds shine and helps protect your design. Consider these factors:
Your Nails Aren’t Weak — They’re Undernourished
Peeling, bending, and slow growth usually start internally.
Supports nail growth and length over time. PrimeBiome helps restore balance so nutrients actually reach your nails.
- Quick-Dry vs. Regular: If you’re impatient, a quick-dry top coat can save you time, but regular top coats tend to offer a more durable finish.
- Thickness: Avoid overly thick top coats, as they can give a bulky appearance. Opt for a thin, high-shine formula for a refined look.
- Application: Seal the tips of your nails with top coat to prevent chipping and extend the life of your manicure.
4. Tools Matter
Having the right tools can significantly enhance your nail art experience. Consider investing in quality products to boost your results:
- Nail Brushes: Different brushes can create various designs. A fine detail brush is great for intricate art, while a flat brush works well for base coats.
- Dotting Tools: These can help you create polka dots or intricate designs without the hassle of a steady hand.
- File and Buffer: Properly shape and smooth your nails before applying polish for a flawless finish.
5. Nail Prep is Key
A perfect manicure begins with well-prepped nails. Here are essential prep steps:
- Cuticle Care: Push back your cuticles gently before applying polish, as this gives a neater appearance.
- Nail Shape: Decide on a shape—whether almond, square, or stiletto—and file your nails accordingly for an eye-catching look.
- Moisturize: Hydrate your hands and nails with cuticle oil or hand cream to avoid a dry, cracked appearance.
6. Environmental Factors
Sometimes, the environment can impact your nail polish’s performance. Consider the following:
- Humidity: Excess moisture can make nail polish dry improperly. Opt for a well-ventilated space when doing your nails.
- Temperature: Cold temperatures can thicken polish and make application difficult. Try to keep your workspace at a room temperature.
- Lighting: Good lighting helps you see your work clearly and avoid mistakes. Always work in a bright area.
7. Understanding Nail Health
Your natural nails play a vital role in how your designs turn out. The healthier your nails, the better they will look with polish. Here are some tips:
Stronger nails start from the inside
Supports nail growth and length over time. PrimeBiome supports nutrient absorption so your nails actually get what they need.
- Strengthening Treatments: Incorporate nail strengtheners into your routine to prevent breakage and promote growth.
- Limit Acrylics: If you frequently use acrylics or gel nails, give your natural nails some time to breathe and recover.
- Diet and Hydration: A balanced diet rich in vitamins and minerals can strengthen your nails from the inside out.
8. Embrace Mistakes
Lastly, remember that perfection is subjective. Nail art is about expression, and sometimes those little imperfections can add character to your manicure. If your nails don’t turn out like the photos, don’t be discouraged! Learn from each attempt and celebrate your creativity.
Conclusion
Achieving the soft glam nails you see in photos requires practice, patience, and a few key techniques. By focusing on your color choices, application methods, and nail health, you can bridge the gap between your expectations and reality. Remember, every nail artist has been where you are—so keep experimenting and refining your skills. With time, you’ll be well on your way to perfecting your soft glam nails!