
Are you looking for a quick and effective way to enhance your overall appearance? If so, milky nails might just be the perfect solution. This trend is not only aesthetically pleasing, but it also has the remarkable ability to make your hands look younger almost instantly. With their soft, creamy finish and subtle elegance, milky nails have captured the hearts of many and are quickly becoming a staple in the world of nail artistry.
In this article, we will explore the beauty of milky nails, their origins, and how to achieve the perfect milky finish at home. Whether you’re planning for a special occasion or simply want to indulge in a self-care moment, milky nails are a versatile choice that works beautifully for any season. Let’s dive into the milky world of nail inspiration!
What Are Milky Nails?
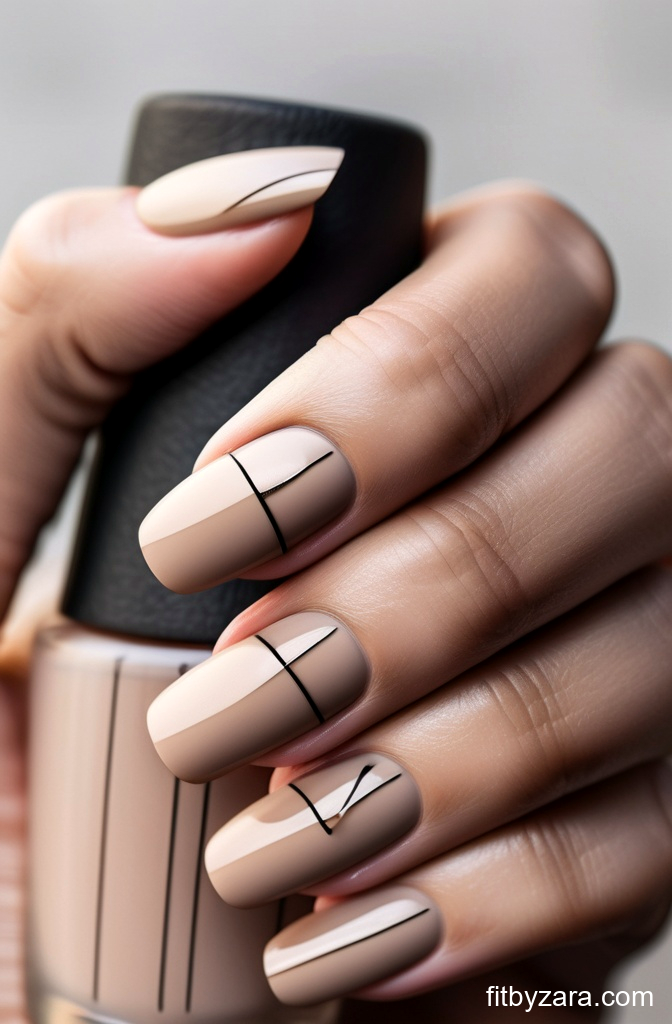
Milky nails are characterized by their soft, cloud-like appearance, often resembling the gentle hue of milk. This nail trend combines a subtle opacity with a glossy finish, giving your nails an ethereal and youthful look. Unlike traditional opaque shades, milky nails allow for a hint of the natural nail color to peek through, creating a delicate balance that enhances the beauty of your hands.
Why Choose Milky Nails?
There are several reasons to consider milky nails as your next nail design. Here are just a few:
- Youthful Appearance: The soft, muted colors of milky nails can create the illusion of more youthful hands by masking imperfections and giving a smooth finish.
- Versatility: Milky nails complement a wide range of skin tones and outfits, making them suitable for both everyday wear and special occasions.
- Easy to Maintain: With their neutral tones, milky nails tend to grow out gracefully, requiring less frequent touch-ups compared to bolder nail colors.
- Endless Customization: You can personalize your milky nails with various nail art techniques, including ombre, glitter accents, or even simple nail decals.
How to Achieve the Perfect Milky Nail Look
Getting beautiful milky nails is easier than you might think! Follow these steps for a salon-quality finish from the comfort of your home:
Step 1: Nail Preparation
Before applying any nail polish, it’s essential to prepare your nails properly. Start by:
- Removing any old polish.
- Cleaning your nails with soap and water to remove any oils or residues.
- Trimming and shaping your nails to your desired length and style.
- Applying a gentle nail buffer to create a smooth surface.
- Applying a good quality base coat to protect your nails.
Step 2: Choosing the Right Milky Polish
There are many milky nail polishes available, so selecting the right one can make a significant difference in the final result. Look for shades described as:
Your Nails Aren’t Weak — They’re Undernourished
Peeling, bending, and slow growth usually start internally.
Supports nail growth and length over time. PrimeBiome helps restore balance so nutrients actually reach your nails.
- Milk White
- Vanilla Cream
- Cloudy Beige
- Soft Pink
Be sure to choose a polish that has good coverage and a glossy finish for that perfect milky look.
Step 3: Application Process
Applying your milky nail polish takes a bit of technique. Here’s how to do it:
- Start with a thin layer of your chosen milky polish, ensuring even coverage across the nail. Allow it to dry completely.
- Apply a second coat for a more opaque look, focusing on any areas that may need extra coverage.
- Once your second coat is dry, finish with a high-shine top coat to enhance the milky effect and add longevity to your manicure.
Step 4: Nail Care
To keep your milky nails looking fresh, it’s important to take care of your hands and nails. Consider these tips:
- Moisturize your hands regularly with a nourishing hand cream.
- Keep your cuticles healthy by pushing them back gently and applying cuticle oil.
- Wear gloves while doing household chores to protect your manicure.
Milky Nail Art Ideas
Once you’ve mastered the milky nail base, you can get creative with various nail art techniques. Here are some inspiring ideas:
- Milky Ombre: Blend two complementary milky shades from the cuticle to the tip for a dreamy gradient effect.
- Glitter Accents: Add a touch of sparkle with glitter polish on one or two accent nails. This design works beautifully for special occasions.
- Floral Designs: Hand-paint delicate floral patterns on your milky nails for a feminine touch.
- Negative Space: Use nail tape to create geometric designs that leave parts of the nail bare, contrasting beautifully with the milky base.
Caring for Your Milky Nails
Caring for milky nails involves more than just applying polish. To keep your manicure looking flawless, consider these additional tips:
Stronger nails start from the inside
Addresses the internal cause of weak nails. PrimeBiome supports nutrient absorption so your nails actually get what they need.
- Avoid exposing your nails to harsh chemicals that can cause discoloration.
- Consider using a top coat every few days to maintain the shine and extend the life of your manicure.
- If your nails start to chip, gently smooth the area with a nail file and apply a touch-up layer of polish.
Conclusion
In conclusion, milky nails are a wonderful way to elevate your nail game while simultaneously creating a youthful appearance. With their versatile nature and endless customization options, they are suitable for everyone, no matter your style. Embrace the milky nail trend and enjoy the compliments that come your way!
So, why not give milky nails a try? With the steps and tips outlined in this article, you are well-equipped to master this beautiful trend. Whether you opt for a classic, elegant look or decide to add a bit of flair with creative nail art, milky nails are sure to make a statement. Happy polishing!