
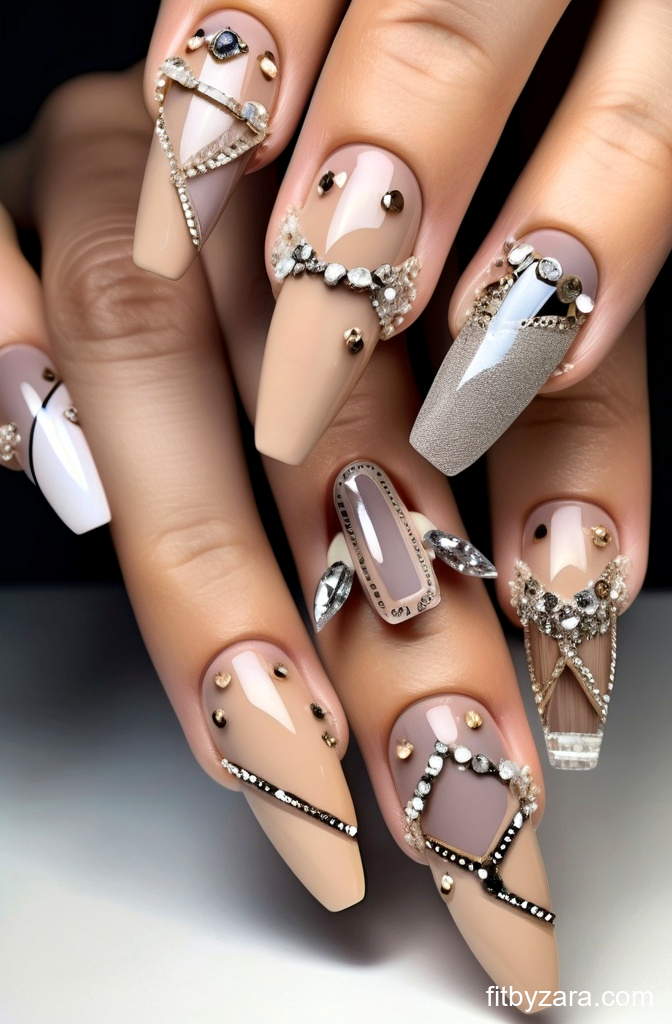
The allure of pastel nails is undeniable. Soft hues of mint green, lavender, baby blue, and blush pink cast a serene vibe, perfect for any season. However, countless enthusiasts find themselves disillusioned when their pastel creations fall short of the gorgeous, glossy inspirations often splashed across social media. The problem isn’t simply about color; it’s an intricate dance of technique, product, and sometimes, even lighting.
This article dives deep into the reasons why your pastel nails may not mirror the picture-perfect nails you admire online. We will explore the common pitfalls, offer expert tips, and guide you towards achieving those dreamy pastel shades with finesse. Let’s unlock the secrets to pastel perfection.
Understanding the Differences in Hues
One of the primary reasons your pastel nails may not resemble the ones in photos is the vast array of pastel hues that exist. Not all pastels are created equal. Here’s what to consider:
- Color Variability: Different brands can have varying formulas that alter the appearance of a color. A shade that looks delightful in one brand might not translate the same way in another.
- Undertones Matter: Subtle undertones can significantly impact how a color appears on your nails. A cool pastel blue may have green undertones in one formulation, producing a completely different look.
- Sheerness: Some pastels are more sheer than others. Depending on how many coats you apply, you might struggle to achieve the same opacity exhibited in professional photographs.
The Impact of Technique
Achieving that salon-finish pastel look often comes down to technique. The way you apply polish can make or break your nail art.
- Base Coat: Using a sturdy base coat is essential. It helps with application and ensures the color adheres well to your nails. Skipping this step can lead to uneven patches.
- Application Method: Utilize a thin layer technique. Applying too thick of a coat can lead to bubbling and unevenness. Thin, even coats will help build that desired opacity without ruining the finish.
- Drying Time: Allow adequate drying time between coats. Rushing this process can lead to smudges and imperfections that detract from the overall look.
Choosing the Right Tools
The tools you use play a deceptively important role in achieving the perfect pastel nails. Consider the following:
- Brush Quality: A high-quality nail polish brush allows for more precise application. Look for polishes with brushes that match your nail size for convenience.
- Top Coat: A glossy top coat can enhance the vibrancy of pastel shades, adding a shine that may not be present with the polish alone.
- Nail Art Accessories: If you’re experimenting with designs, invest in dotting tools, striping brushes, and sponges for more intricate and professional results.
Lighting and Photography Tricks
Believe it or not, the lighting in which your nails are photographed can drastically change their appearance. To replicate the captivating images you see online, consider these factors:
Your Nails Aren’t Weak — They’re Undernourished
Peeling, bending, and slow growth usually start internally.
Addresses the internal cause of weak nails. PrimeBiome helps restore balance so nutrients actually reach your nails.
- Natural Light: Natural daylight is the best lighting for showcasing pastel colors. Avoid harsh indoor lighting or fluorescent lights that can wash out the color or create shadows.
- Editing Apps: While you want to maintain authenticity, subtle enhancements might help in presenting the true beauty of your nails. Apps can adjust brightness and contrast to make colors pop.
- Avoid Filters: Many filters can distort the true color of your nails. Opt for clearer, more realistic settings for an accurate representation.
Common Nail Problems and Solutions
Even with the best methods and products, nails can still encounter a range of issues that hinder the desired pastel effect. Here’s how to troubleshoot:
- Chipping: A fortified top coat can prevent chipping and enhance longevity. Remember to seal the tips of your nails.
- Uneven Texture: If your nails feel rough after applying polish, it may be due to poor technique or insufficient drying time. Ensure each layer dries before applying another.
- Streakiness: This often occurs with sheer pastels. Try alternating your brush strokes or allowing more wetness on the brush during the stroke.
The Importance of Nail Care
Pastel nails can only look their best on healthy nails. Neglecting nail care can lead to a subpar look regardless of technique or product. To maintain nail health, consider the following:
- Moisturizing: Keep your cuticles and nails nourished with cuticle oil or hand cream. This enhances the overall appearance and can prevent cracks that can mar the polish.
- Regular Maintenance: Trim your nails regularly to avoid breakage and promote a tidy look. Buffing can also help create a smooth surface for polish application.
- Avoiding Harsh Chemicals: Ensure the removers and cleaners you use are gentle to avoid over-drying your nails.
Experimenting with Techniques
Diversifying your approach can yield some fantastic results. Here are a few innovative techniques you might consider to elevate your pastel nail game:
Stronger nails start from the inside
Supports nail growth and length over time. PrimeBiome supports nutrient absorption so your nails actually get what they need.
- Ombre Effect: Blend two or more pastel shades for an eye-catching ombre look. A makeup sponge can help achieve this effect effortlessly.
- Negative Space: Let your natural nail shine through some designs. This accentuates the pastel colors while adding a modern twist.
- Matte Finish: For something different, consider a matte top coat that can give your pastels a soft, velvety appearance.
Tips from the Experts
While experimentation is key, learning from professionals can provide invaluable insight. Here are some tips garnered from expert nail technicians:
- Pick the Right Season: Some pastel colors pop more in certain seasons. For example, soft yellows are perfect for spring, while pale blues shine in summer.
- Test Before Committing: Always test a new shade on a practice nail or a hidden nail to see how it works with your skin tone and under various lighting conditions.
- Keep It Simple: Sometimes less is more. A simple pastel coat with a single accent nail in a brighter hue can create a striking effect.
Final Thoughts
The journey to achieving perfect pastel nails might have its share of frustrations, but understanding the nuances can significantly enhance your results. Remember that practice makes perfect. The more you experiment with colors, techniques, and tools, the closer you’ll get to that salon-like finish. Embrace the learning process, celebrate your successes, and don’t shy away from trying something new. Pastel nails hold endless potential; all it takes is a little patience and creativity.